A great cup of coffee ends with the appearance of a creamy, rich froth on top. But what sort of device usually makes this milky addition?
Milk frothers are responsible for providing endless cups of coffee with eye-catching fluff and this article will further discuss the devices that one can use to get their very own creamy cup at home.
Basic Milk Frother Info
 Before we get into the different milk frother models, we must discuss the fundamental facts. The device aerates the milk present in the coffee by quickly stirring it. This action brings in plenty of air to the mixture, which in turn causes the milk to form a lather on top, which can be light or dense depending on the type of frothing device used.
This procedure intensifies the coffee’s volume which is blended with milk. The whole process also has an effect on the overall taste of the coffee, making it creamier in terms of flavor with a sumptuous aroma. The cream or milk in the coffee balances the sharp, stronger flavors of coffee variants like cappuccinos and lattes.
Other than enhancing the flavor, you can also create eye-catching art with it. Maybe you have seen the awesome latte art at coffee shops and on your own social media feed. With this device you can come up with various forms and silhouettes on your creamy topping.
The device can also be used on any drink with milk as an ingredient. It is a small, handy and straightforward unit to use and can be manually-operated or powered by electricity. Because of its portable size, it won’t take up so much space in the kitchen and can be stored anywhere you wish.
Kinds of Milk Frothers
-
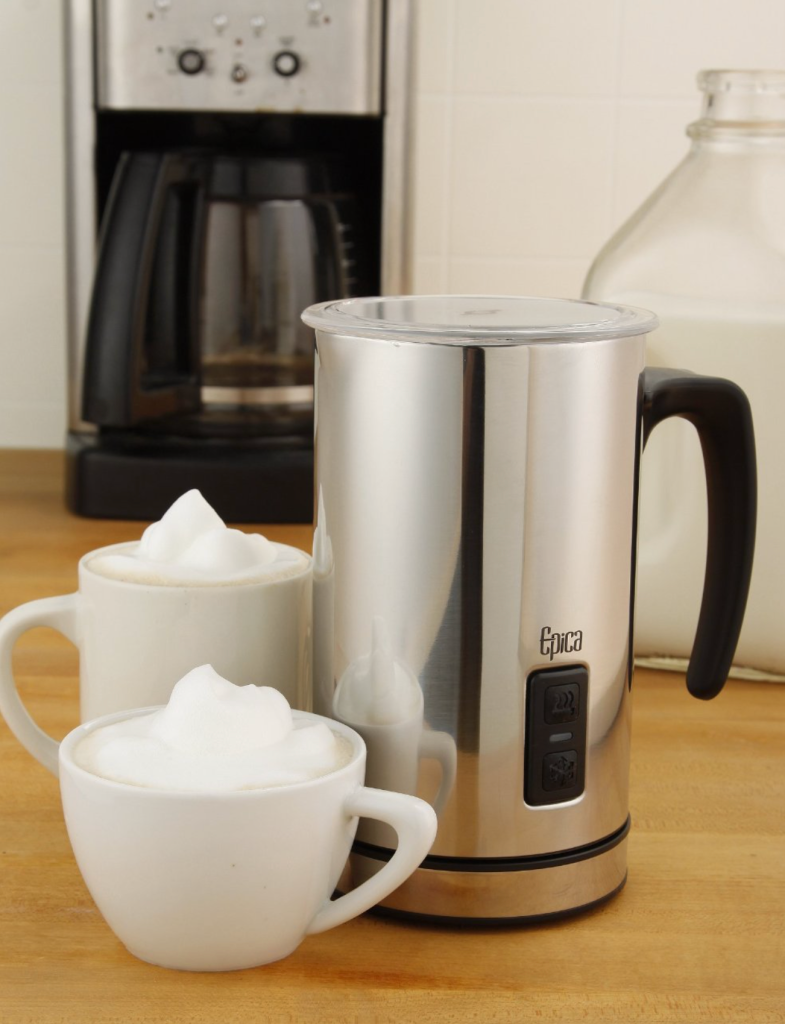
Electric milk frother
 This is an electric milk frother and has the appearance of a small food processor. The electric kind is highly recommended for individuals who love making big batches of cappuccinos at one go. It can also froth a great quantity of milk as compared with other devices.
It’s pricier than other related units but it works fast and some models can even heat the milk up during the frothing process. Several models also come with a built-in steamer to make frothing possible in just a single step.
With this device, you can save money on coffee and have your own barista-level cup at home. The convenience of having it in your home means you won’t have to go to your favorite coffee shop every time you yearn for a serving of your choice macchiato — you can finally whip one at home fast and easy any time you please.
You can also use it on other milk-based beverages. You can make milkshakes with it, serve matcha tea and it can be used on hot chocolate as well.
-
Motorized whisk
 The motorized whisk is operated electrically by means of integrated batteries. It includes a whisk and a propeller and typically comes as a hand-held device. The whisk connected at the end of the device turns quickly once it is switched on.
The quick rotating motions causes the milk to fluff and froth, creating big bubbles in the mix. This unit must be used carefully because it can cause chipping once handled improperly. You can make foam out of the beverage in any texture you wish by using this particular device.
Beginners will actually get the hang out of using a whisk since it’s pretty simple to use. All you have to do is plunge the tip of the whisk in the mixture, switch the Start button, move the unit bit by bit while foaming and you will get your creamy drink within seconds. Bear in mind that you should not turn the power on prior to submerging the whisk in the milk since it will have a tendency to spatter out of the cup or jug.
Motorized whisks are usually reasonably-priced and it’s easy to clean too. Since it is small and light, you can carry or store it with you anywhere. It’s durable and provides easy clean-up with little to no maintenance.
-
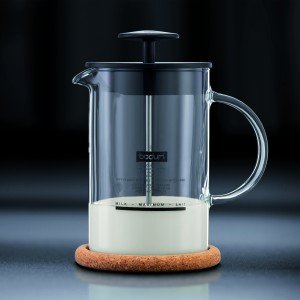
Hand-pump milk frother
 This device features a plunger that is attached to a mesh screen which is located inside a cup that’s made from stainless steel. Hand-pump milk frothers are typically affordable and easy to use as well. However, in order to create a good foam, you have to double the effort since you will be doing the whole process by hand.
The procedure usually takes a good 3-10 minutes, and it depends on how you want your foam to look like. Hand-pump units can also foam all kinds of milk. It’s recommended for frothing smaller batches of the stuff. Like all frothing devices, it does not require regular maintenance and is a breeze to clean.


 There are a lot of people who think making
 Any form of art has its medium or building block. In the case of Latte Art, the primary medium is microfoam milk. Creating microfoam milk is the key to creating Latte art shapes for without this, you will most likely not be able to form any shape at all, not even a simple ellipse! Learning how to make microfoam milk is the first step towards creating homemade Latte Art.
 Putting Froth into Microfoam
 One of the simplest to make yet also never fails to tickle anyone in the coffee shop, the Heart is a nice starting point for your first